
Blog
How to Plant Iris Rhizomes: A Complete Guide to Bigger Spring Blooms

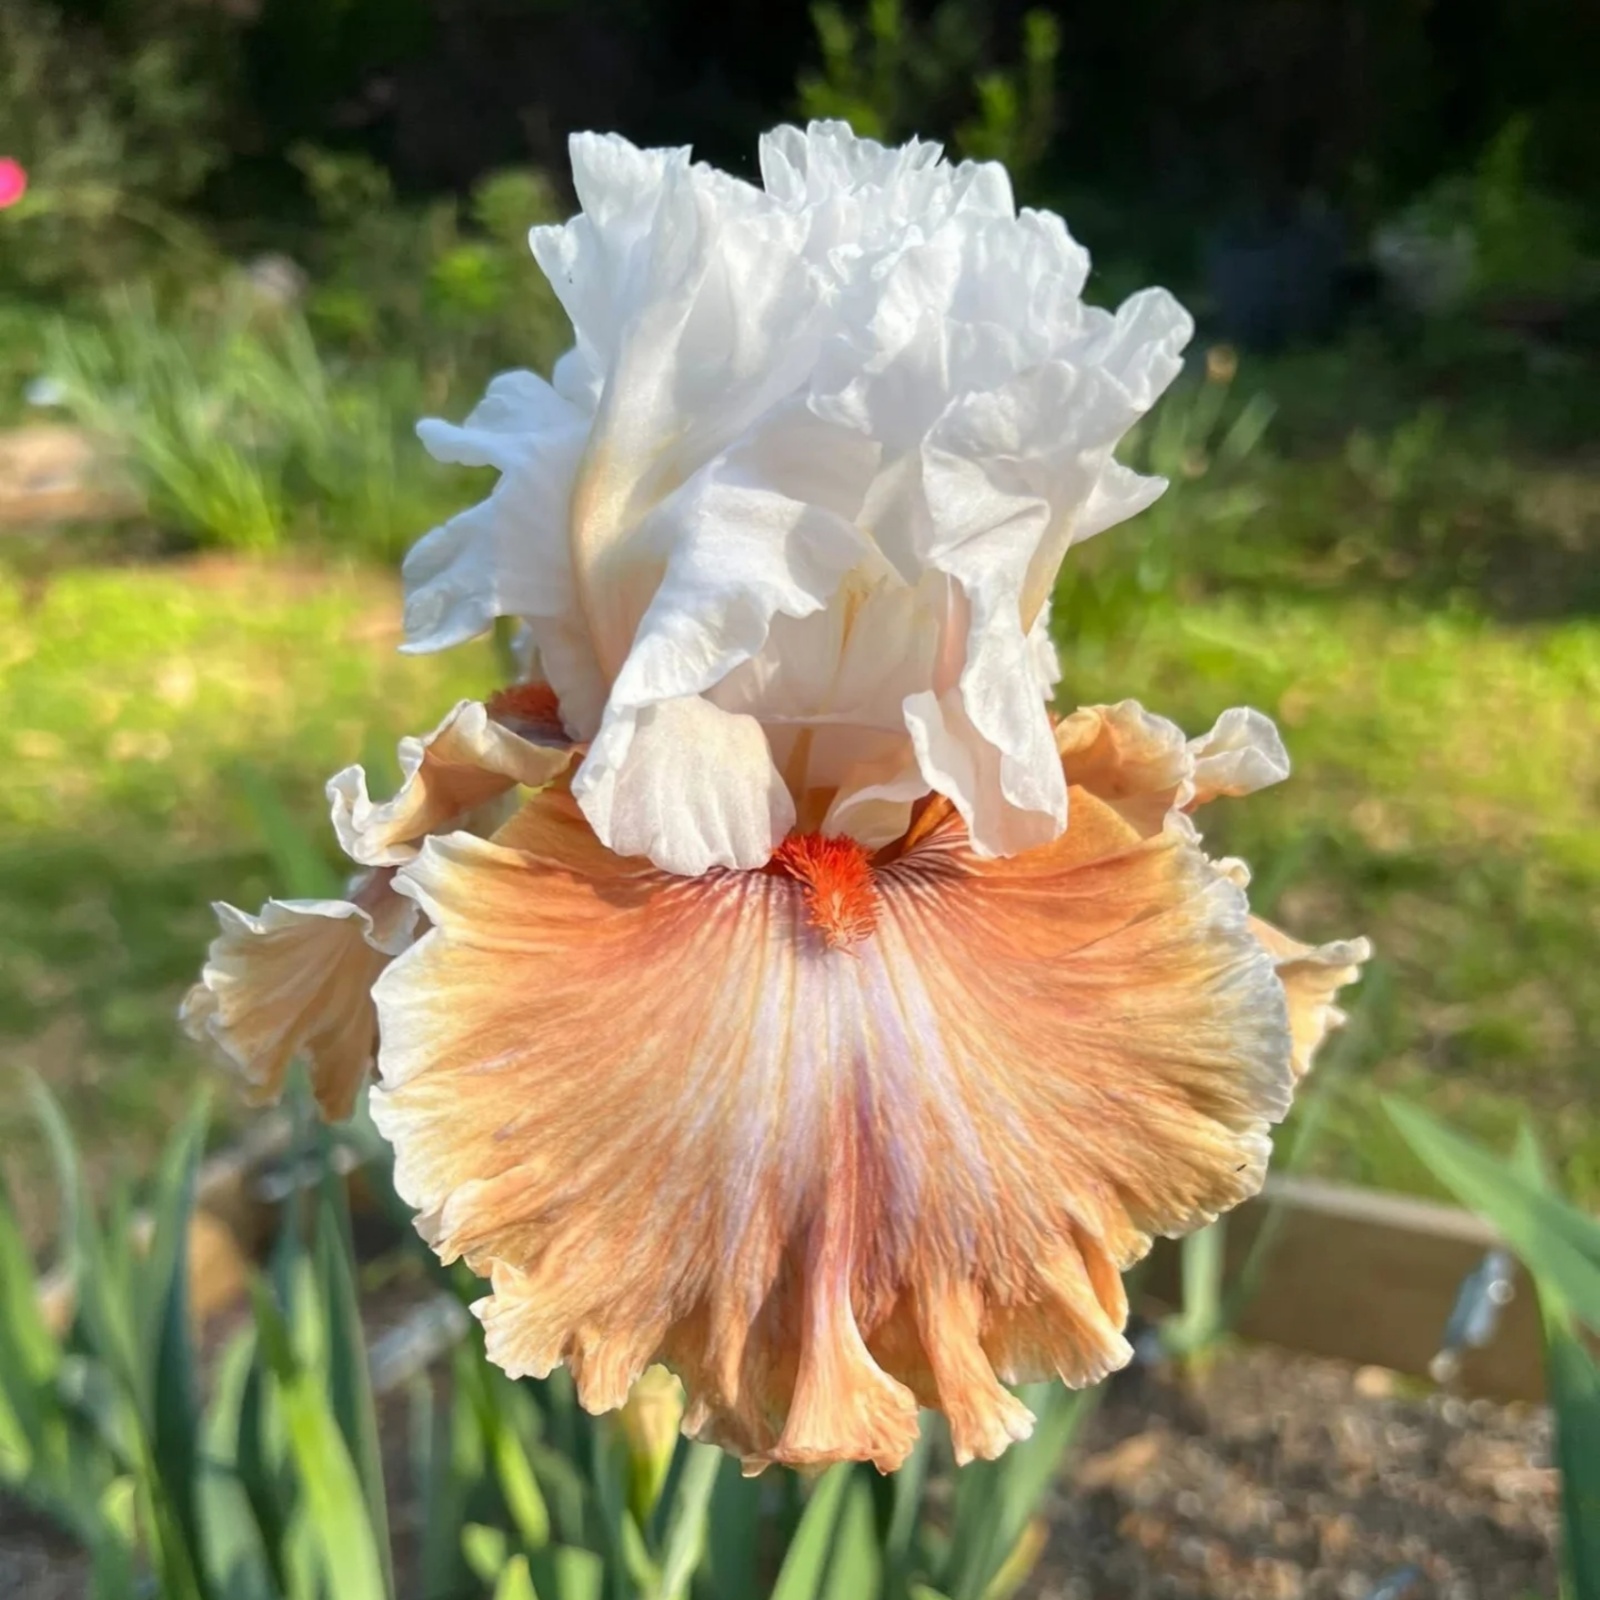
Bearded irises are the showiest perennials of late spring — huge ruffled flowers in colours from near-black to white, held on stiff stems above sword-like leaves. Give them the one thing they demand, and they will bloom for decades and multiply into generous clumps you can divide and share.
Ready to plant? Shop Iris at Alasines → Free U.S. shipping and a 30-day arrive-alive guarantee.
The one thing is this: an iris rhizome wants to bake in the sun, not be buried. Almost every iris that fails to flower was planted the way you would plant a tulip — and that is the only real mistake you can make with them.
Here is the complete routine, from choosing a spot to dividing an overgrown clump.
First: iris rhizomes are not bulbs
A rhizome is a thick, fleshy stem that stores food, not a bulb. It sits at the soil surface in nature, with its roots reaching down and its top exposed to the sun. Bury it, and it will rot; leave it half-exposed, and it will thrive and flower. That is the whole secret.
When to plant iris
The best time to plant bearded iris is late summer to early fall — August through October — so the roots can establish before winter. When you plant in fall, rhizomes settle in with almost no stress and bloom the following spring.
Spring planting is possible, but it usually costs you the first year of flowers while the plant catches up. If you have rhizomes in hand and the weather is mild, fall is the moment to use.
Where to plant
Full sun, six to eight hours a day. Iris will tolerate a little shade but flowers get sparser with every hour of shadow.
More important than sun, again, is drainage. Iris rhizomes rot in wet soil faster than almost any other plant. Plant on a slope, in a raised bed, or in the sunniest, sharpest-draining corner you have. If your soil is heavy clay, dig in coarse grit and compost generously before planting.
How to plant iris rhizomes
- Soak the rhizome in water for an hour before planting if it looks dry.
- Dig a shallow hole and build a small mound of soil in the centre.
- Set the rhizome on the mound and spread its roots out around it, down into the hole.
- Backfill so the roots are covered but the top of the rhizome stays exposed to the sun. You should still see it clearly after planting.
- Space rhizomes 12–18 inches apart, with the fan of leaves facing the direction you want the clump to grow.
- Water well. Keep watering weekly through the first month, then only in dry spells.
Watering and feeding
Once established, iris are surprisingly drought-tolerant, but they flower best with water during spring growth and right after bloom. Avoid overhead watering in the evening; wet foliage overnight invites leaf spot.
Feed with a low-nitrogen fertiliser — bone meal is traditional — in early spring as growth begins and again lightly after flowering. High-nitrogen fertilisers are worse than no fertiliser at all: they push soft leafy growth, reduce flowering, and encourage soft rot.
Dividing every few years
An iris clump flowers generously for three to five years, then thins in the middle as the rhizomes crowd each other. Each crowded rhizome gets fewer resources and eventually stops blooming altogether.
Divide in late summer, after flowering, when the clump looks like a doughnut with a bare centre. Dig the whole clump, cut the rhizomes apart with a clean knife, keep the young, firm outer pieces with a healthy fan of leaves, and discard the old woody centres. Replant a few inches apart in refreshed soil. Dividing rejuvenates the bed — most gardeners treat it as a chance to give away extras rather than a chore.
Troubleshooting
- Green leaves, no flowers — almost always one of three things: planted too deep, clump overcrowded, or too much shade. Check the depth first; it is the most common cause.
- Soft, foul-smelling rhizome — bacterial soft rot. Dig it up, cut away the affected sections, let the cut ends dry in the sun for a day, and replant in a better-drained spot.
- Brown spots on leaves — leaf spot, usually cosmetic after wet weather. Cut off affected leaves at the base and clean up debris in fall.
- Flowers smaller than last year — crowding. It is the clump telling you it is time to divide.
- Small holes and notched leaf edges — iris borer. Look for sawdust-like debris at the base; dig the affected rhizome, remove the damaged part, and destroy it.
Ready to plant
Our iris bulbs and rhizomes ship at planting size, with the 30-day arrive-alive guarantee on every order. If you are planting the whole spring sequence, our guide to growing crocus covers the flowers that come first, weeks before the iris season begins — or browse the full collection.
Shop the plant
Iris Bulbs
Free U.S. shipping · 30-day arrive-alive guarantee · Ships in 1–2 business days.